And Don't forget Draw, and save money, and live your crazy mom or teacher life!! This blog is kind of a modge podge of things I love- Education activities, Money saving, Mom stuff, crafts, and other arts integration into life kind of stuff.

His Name is Jesus Player

Showing posts with label science. Show all posts

Friday, May 2, 2014

Quiet/Centers Book

Sometimes using the Arts in teaching and learning does not have to be up and active!  Sometimes working on a quiet activity is good for both the parent, teacher, and child/student.  I created a quiet book for my toddler that uses art and colors, but also does activities based on songs and stories. This idea originally came from Love, Sweet. Love Blog, but has been adapted to use for centers at school.
Age Level: Toddler to Primary grades
Subjects: Anything.  (The example quiet book is made for church, but a quiet book can be used for any subject being taught- reading, math, science, etc.).
Materials: Binder, dry erase markers or crayons, sheet protectors (unless laminating everything), and activity sheets (I recommend making sheets on cardstock), sticker magnets. small zip lock bags
Home Use: The quiet book is a perfect tool for parents to use with their individual children to work on things the child struggles with.  I made mine for church, so my little boy would sit quietly during the main church meeting, and remember things I want him to remember about church- including songs.
Classroom Use: The quiet book is perfect for centers.  You only have to make enough for the amount of students in the center, and it can be used for any center subject.
Idea behind the Quiet/Centers book: The idea is so students and children can work individually at their own pace by doing fun activities that reinforce a subject, story taught, or song learned.  My sample quiet book mostly has activities in it from Primary children songs from church.  It also has a coloring page from a scripture story.  Children use dry erase markers or crayons to write on the sheet protectors to color the pages or do the activities.  The markings wipe off easily, so other children could do the same activities, or if used for individual and reinforcement use, the individual child can do the activity multiple times until he/she is bored with it, or fully understands the concept.  When new subjects, stories,  and songs are learned, new activity sheets can be placed in the sheet protectors, and the old sheets can be stored for next years class or the next child.
The activities that do not involve dry erase markings use magnets to attach pieces to the activity sheet. 
To Make the Quiet book Binder is simple: The activity sheets will go in the sheet protectors which go in the binders.  There are lots of ways to make activity sheets.  You can get a bunch of free pintables from this website: http://www.1plus1plus1equals1.net/2011/03/tot-school-printables/
I also created some of my own activity sheets using Paint or searching for certain clipart.  If using the quiet book for certain subjects, you can get lots of free pintables from teacher sites. I am giving you a free printable from one of my activity sheets to get started! 
flower stems
flowers
To make activity sheets using magnets, you will need the activity sheet and the pieces that will go on the sheet.  I recommend laminating the small pieces so they will last longer.  I used self sealing laminate sheets.  After laminating your pieces,  cut sticker magnets to the size of piece that will go on the sheet, and put the sticker magnet in the proper places on the sheet and on the pieces.
Sample Quiet Book:
Dry erase crayons go in the front pocket of the binder.  (Markers or crayons can also be put in a zip lock bag that is whole punched and attached to the binder.
assetWG3WCSQ3
Activity sheet that use dry erase writing utensils:
asset3M2TBP4XassetRY025SIB
Activities that use magnets to attach pieces to the activity sheet.  The small pieces are stored in a small whole punched zip lock bag. Used one zip lock bag per activity page, so the small pieces don’t get all mixed up.
assetU4NZAGFXassetPDLOQPFG
asset0PVTNAU4
The activity pages can go in any order in the quiet book.  The ones in this book are ordered with the dry erase activities first, the easier magnet activities second, and the harder magnet activities last.
A few things to note: The quiet books can also include pictures of what is being taught or reinforced, such as pictures of animals, letters, or even family members. This way little children will learn using visual arts before doing the activities.
If you need ideas or have questions on what to do with your quiet or centers books, let me know!  I have lots of ideas!!!

Monday, September 16, 2013

Parts


Title:  Parts

By Tedd Arnold

To purchase this book from Amazon, click here!
 
Subjects: Language Arts, Media Art/Technology (photography), art, science

Objectives: Rhyming, poetry, sequencing, comprehension, creativity, fluency, human body

Grade(s): Any Grade

Possible Materials Needed: Camera, writing utensils, computers, chalk, or other materials. 

Brief Description: Parts is a poem in a book.  Therefore, you can use this book for teaching poetry and/or rhyming.  It is also a great book to get older students/children out of their comfort zone, and present the book as if they were the little boy “loosing” his parts (see Drama Integration Activity).  

Lesson:

1.   HOOK: (Get the students interested). Begin by reading the book in a dramatic way to the students (even older students).  Read it as if you were the main character.  Most likely students will think you are funny!

Choose one or more from the following activities:

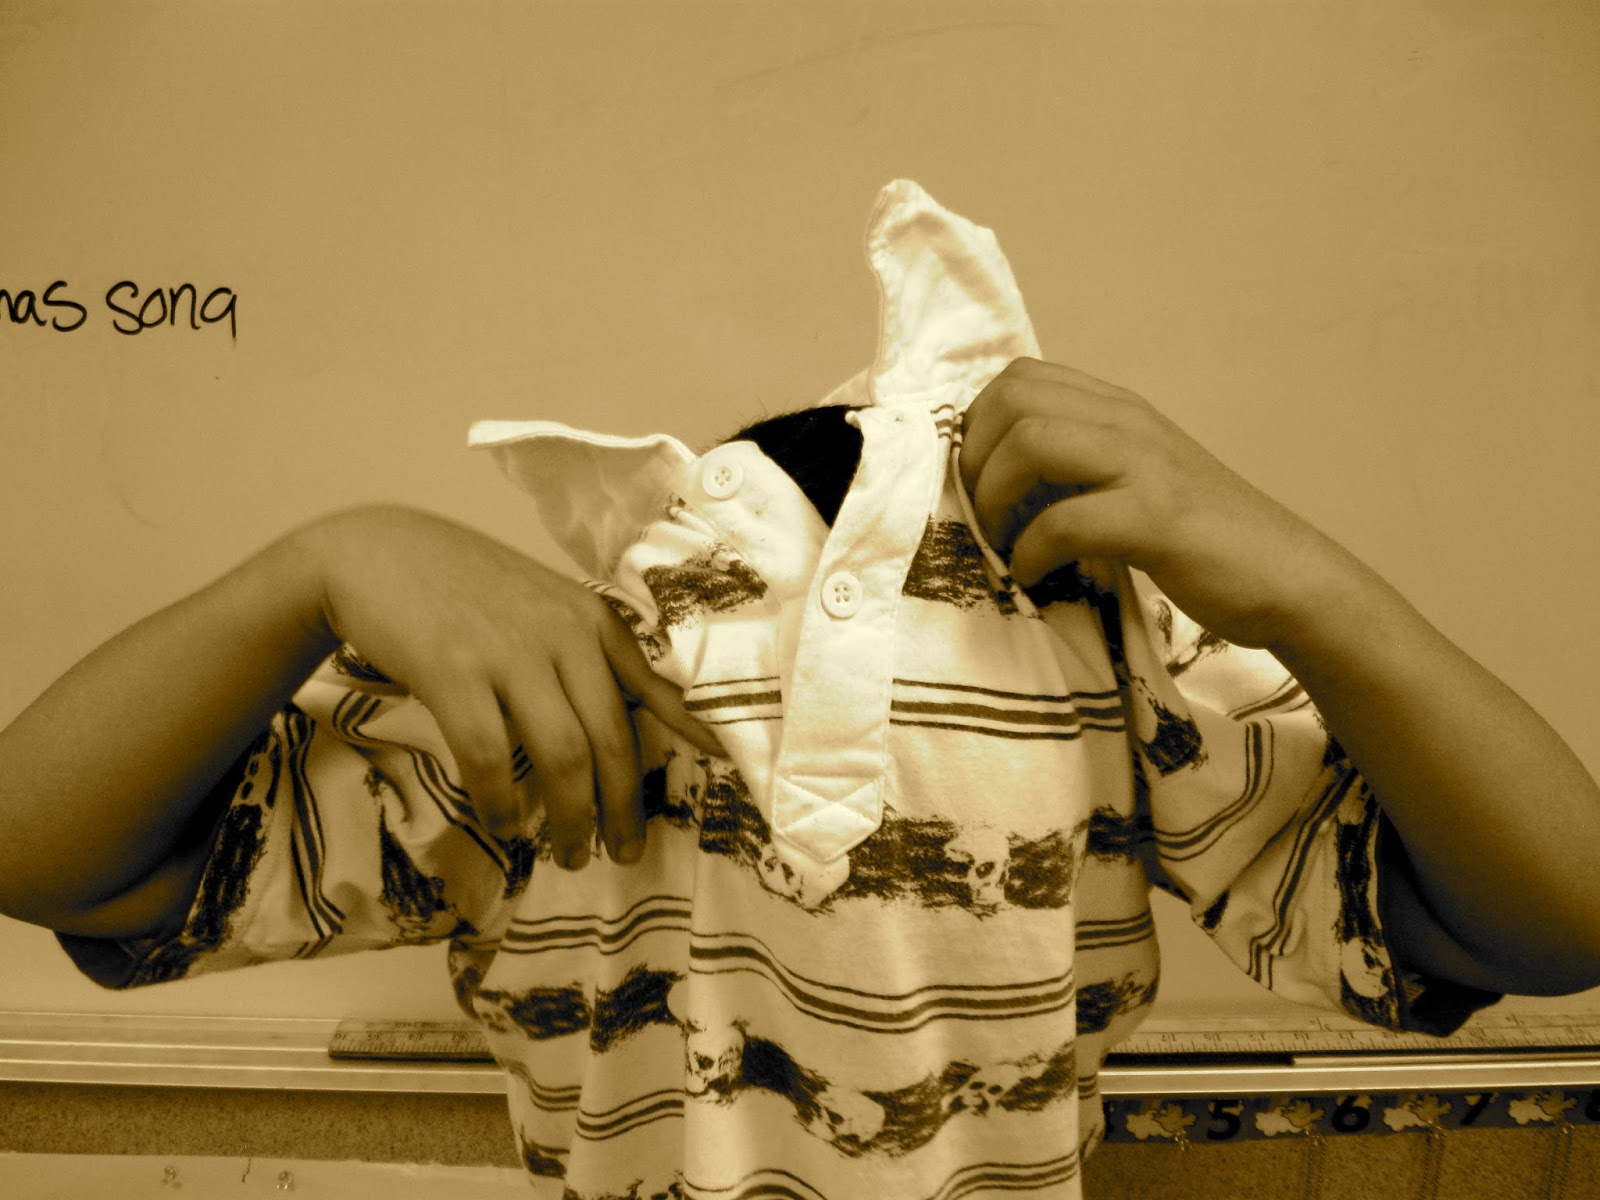
2.   Media Art/Technology Activity: This activity can be done as a whole class, in groups, or as individual projects for older kids.  It can be incorporated when teaching sequencing, creativity, comprehension, or many other things depending on how you use it.  The activity: for each page of the book, take a creative picture of what the page is saying.  For example: On the second page the main character’s hair falls out in his comb.  You or your students depending on how you set the activity up-take a picture of someone holding a comb with hair in it.  After all the pictures are taken, you can have the kids put them in order for a sequencing activity.  If you did groups, you could have the students present their group media arts project about the book with the pictures.  There is a lot you could do with the pictures. 

I actually did this activity with my class when I was teaching 3rd grade.  We did it to feature this book because it is one of my favorite books, and it is the book my students voted for to feature.  We did this as a class, and students took turns being in the pictures.  (I took the pictures).  When we were all done, we put the pictures on our classroom door, with a sign that said- “Can you guess the book?”  The students loved it, and it made them more excited to read other books.  Here are some of the examples of pictures I took.  (The kids were creative, and they chose what to do for the picture). 


3.   Drama Integration Activity: If you chose to use the “hook” for this book, this activity is exactly that, but it is what students will do and present.  You can use this book as an introduction/example, and have the students choose their own books, or you can have students read this book to the class, you, or in a group.  The Activity: have students read the book in a dramatic way- as if they were the little boy missing his hair, brain, etc.  This is a good way to help with fluency.   

4.   Art/Writing Integration: After using this book to teach poetry, have the children write and illustrate their own poem.  You can have younger children use writing utensils, or have older children create their graphics using technology: photography, a program like Paint, or other graphics. 

5.   Science Integration Activity: This is a perfect book to use when teaching about our bodies to little kids.  The book has reference to skin, bones, boogers, body parts (eyes and arm), teeth, and ear wax.  You could focus on any one of these things or all of them when introducing a unit on the body.  Some Art integration activities when using this book to teach the body is: self-portraits, skeleton bodies, or go outside with chalk and trace students’ bodies.  Let them draw their own face and clothes. 

At Home Ideas: Any of the above ideas can easily be done at home with a little adaptation.  Some may even be easier to do at home than in a classroom.